Laserfiche document redaction is an annotation that securely hides part of the information on a page.
For instance, suppose you need to release a document as part of a public records request, but it contains someone’s social security number or other confidential information. It’s not enough to simply place a black box annotation over the information. Someone could still copy the text, paste it into a blank document, and see the text you were trying to hide. The information also would not be hidden from the document metadata.
That’s where the Laserfiche redaction tool comes in. Redacting in Laserfiche completely hides sensitive information from the document and its metadata from anyone not authorized to see it.
Learn how to apply redactions to a Laserfiche document by watching the videos below.
How to Redact inLaserfiche Web Client
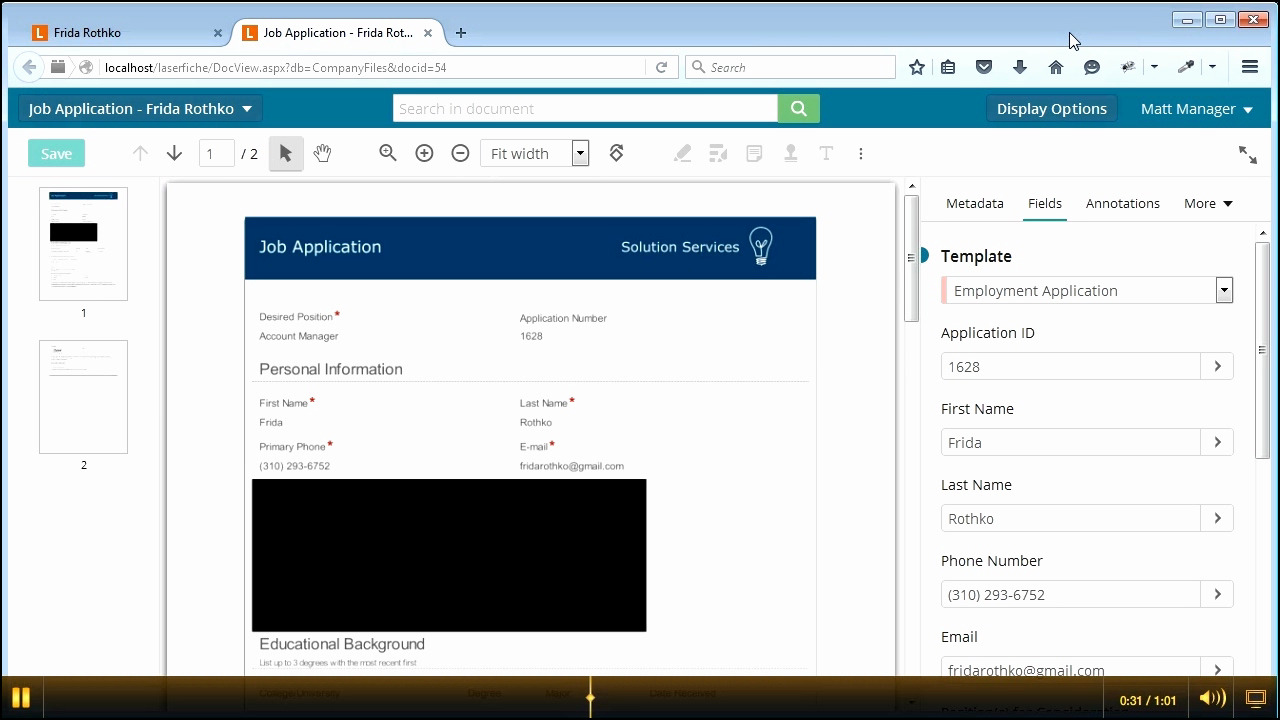
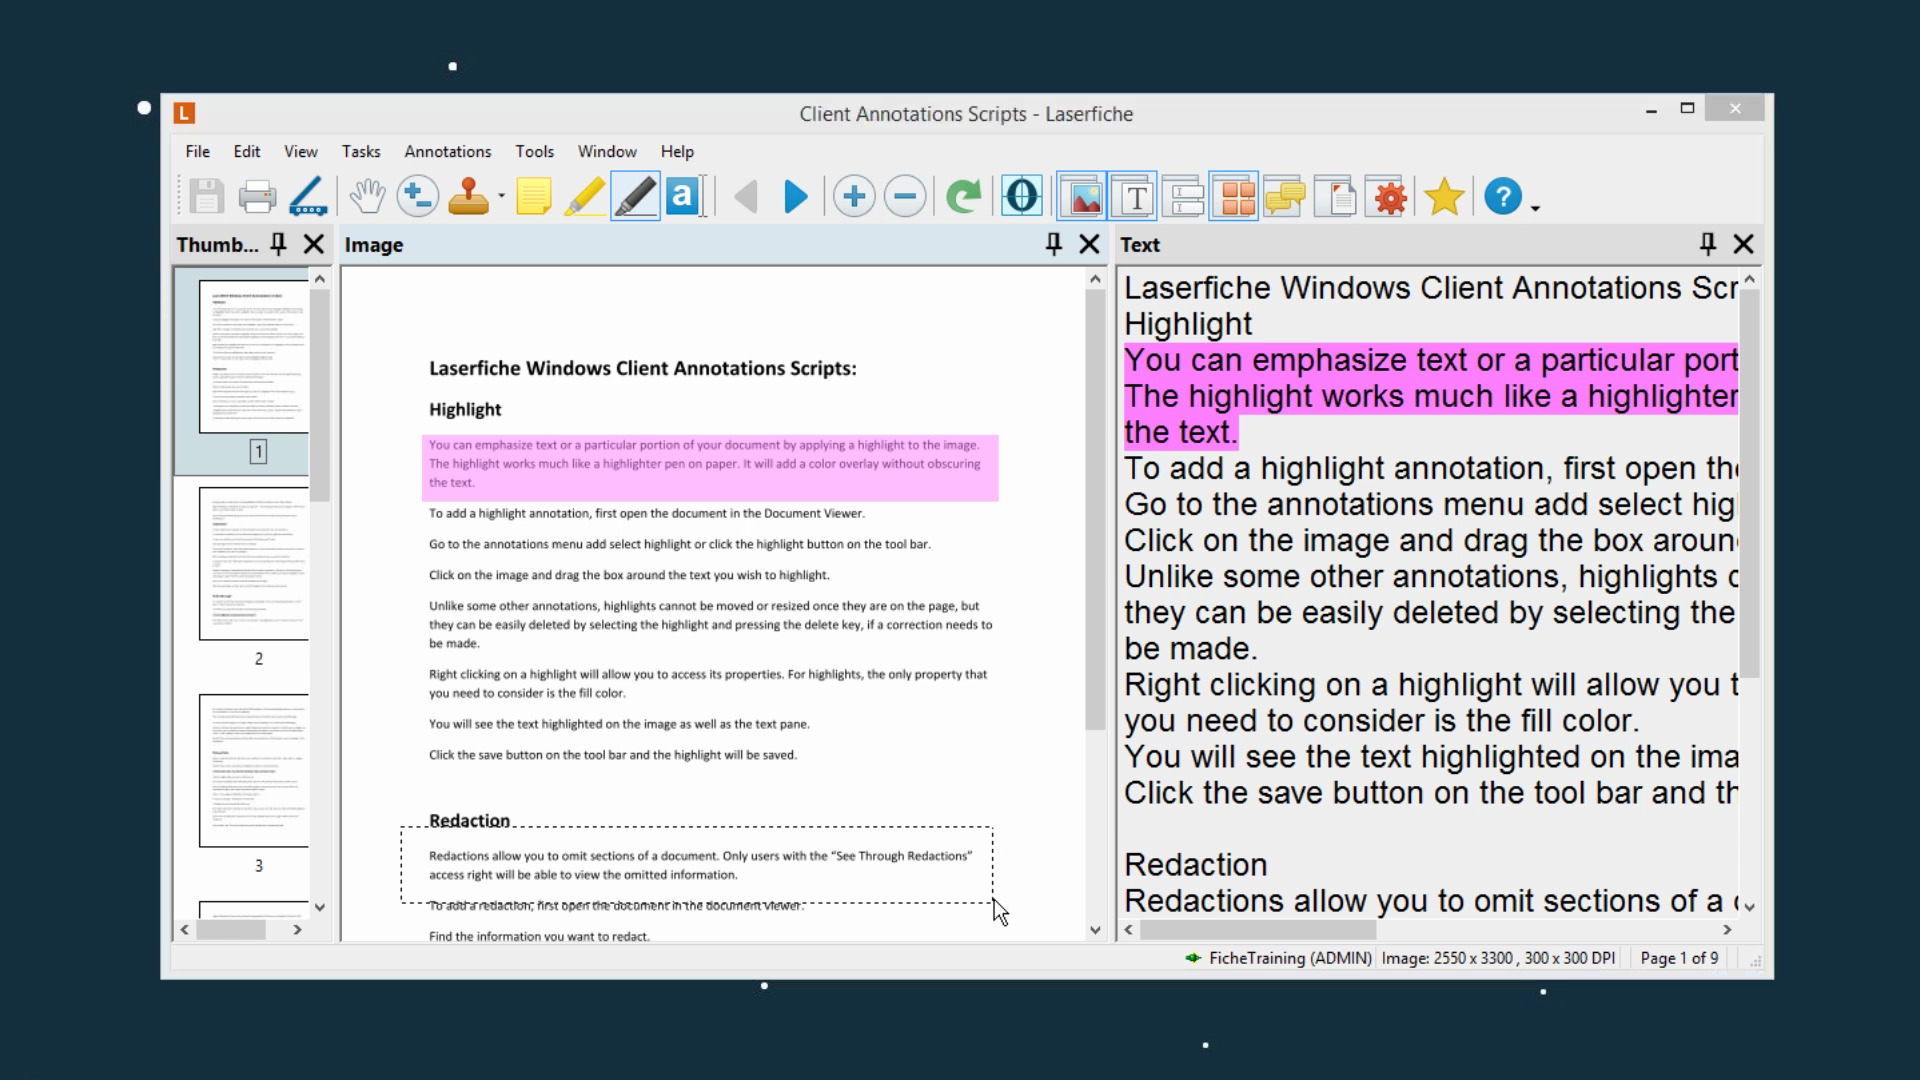
How to Redact inLaserfiche Windows Client
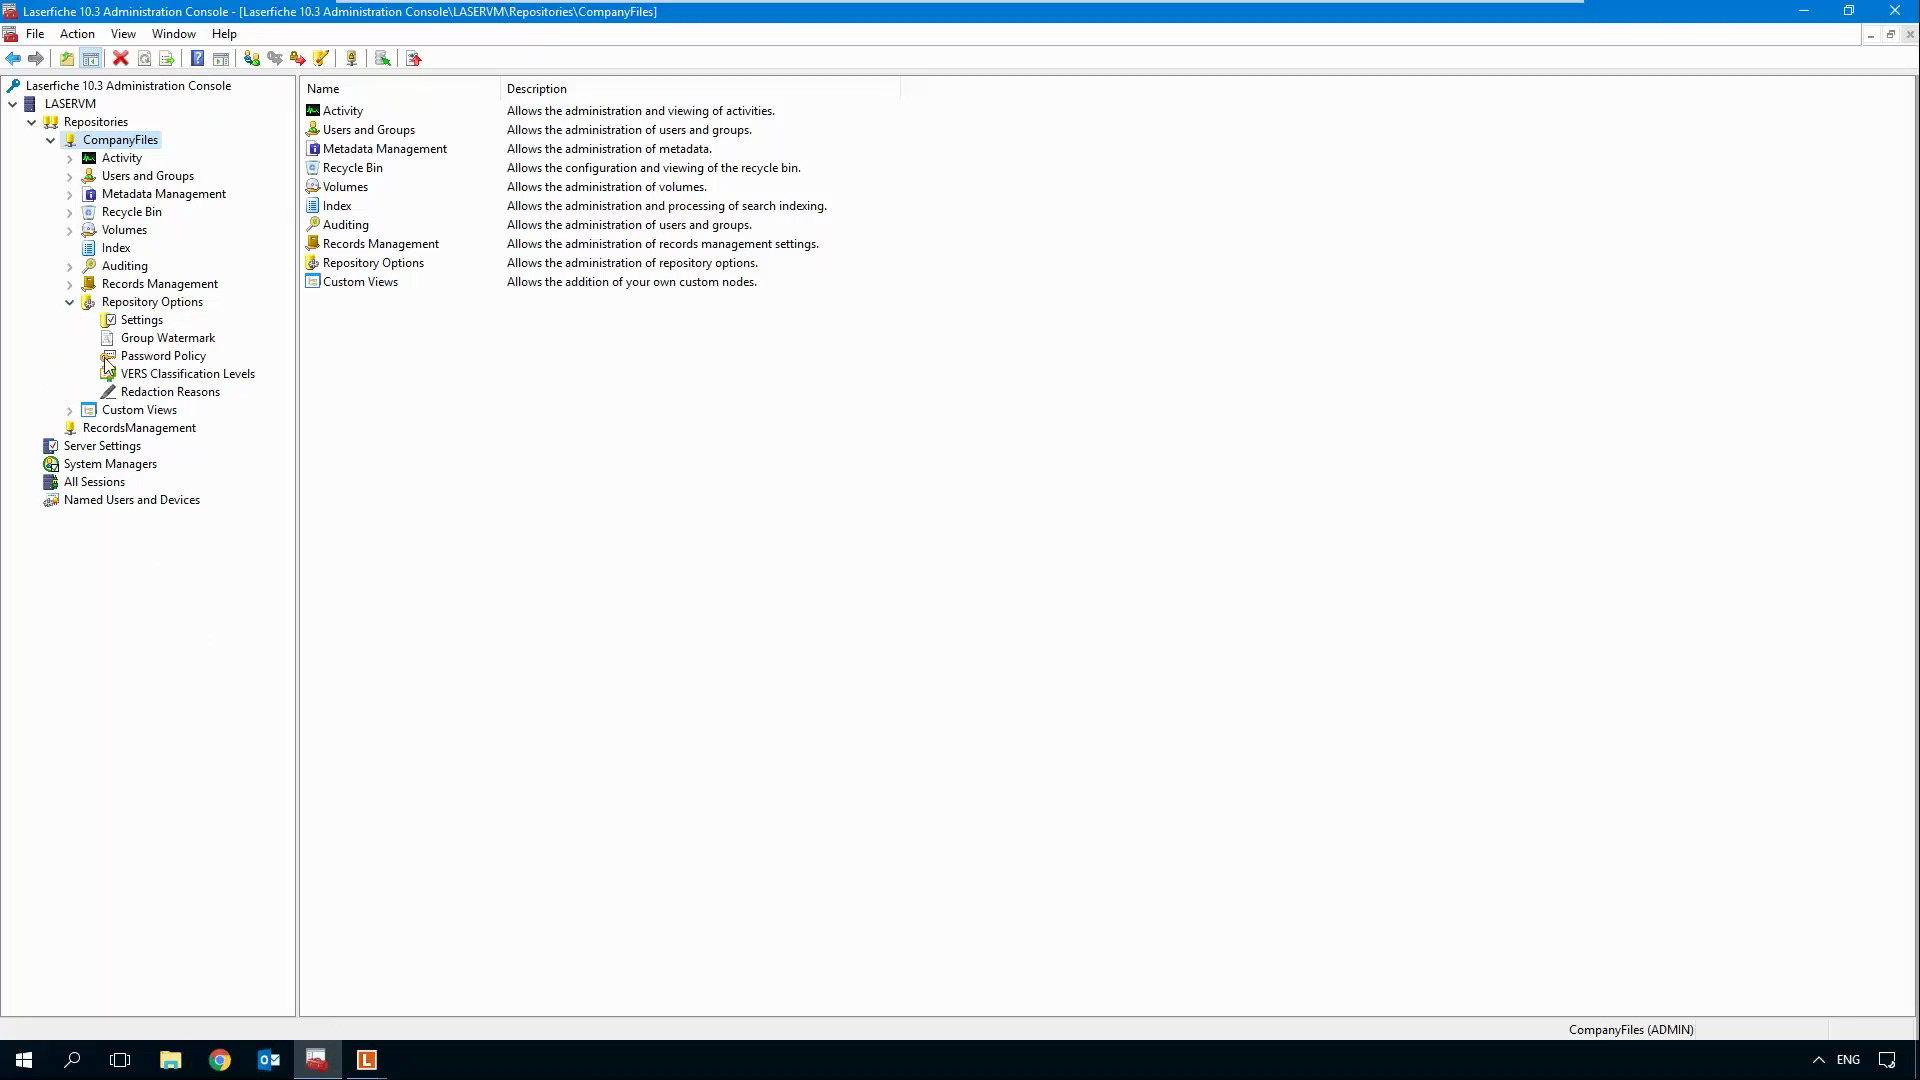
Laserfiche Redaction Reasons
Administrators can configure reasons to add to redactions if using Laserfiche Web Client 10.3 or Laserfiche Windows Client 10.3 or later. In the case of a public records request, this could be the section number of the applicable law that lists the specific reason for redaction: “Chapter 42.56.240: Investigative, law enforcement, and crime victims.” Or it could refer more generically to an internal policy: “Hiring managers are not authorized to view applicants’ home addresses.”
A popup will ask users to assign a reason from a drop-down menu when they add a redaction. Future document viewers can see the reason in the redaction metadata.
Watch the videos below to learn how to configure, assign, and view redaction reasons in Laserfiche Web Client 10.3 or Laserfiche Windows Client 10.3.
Redaction Reasons inLaserfiche Web Client 10.3
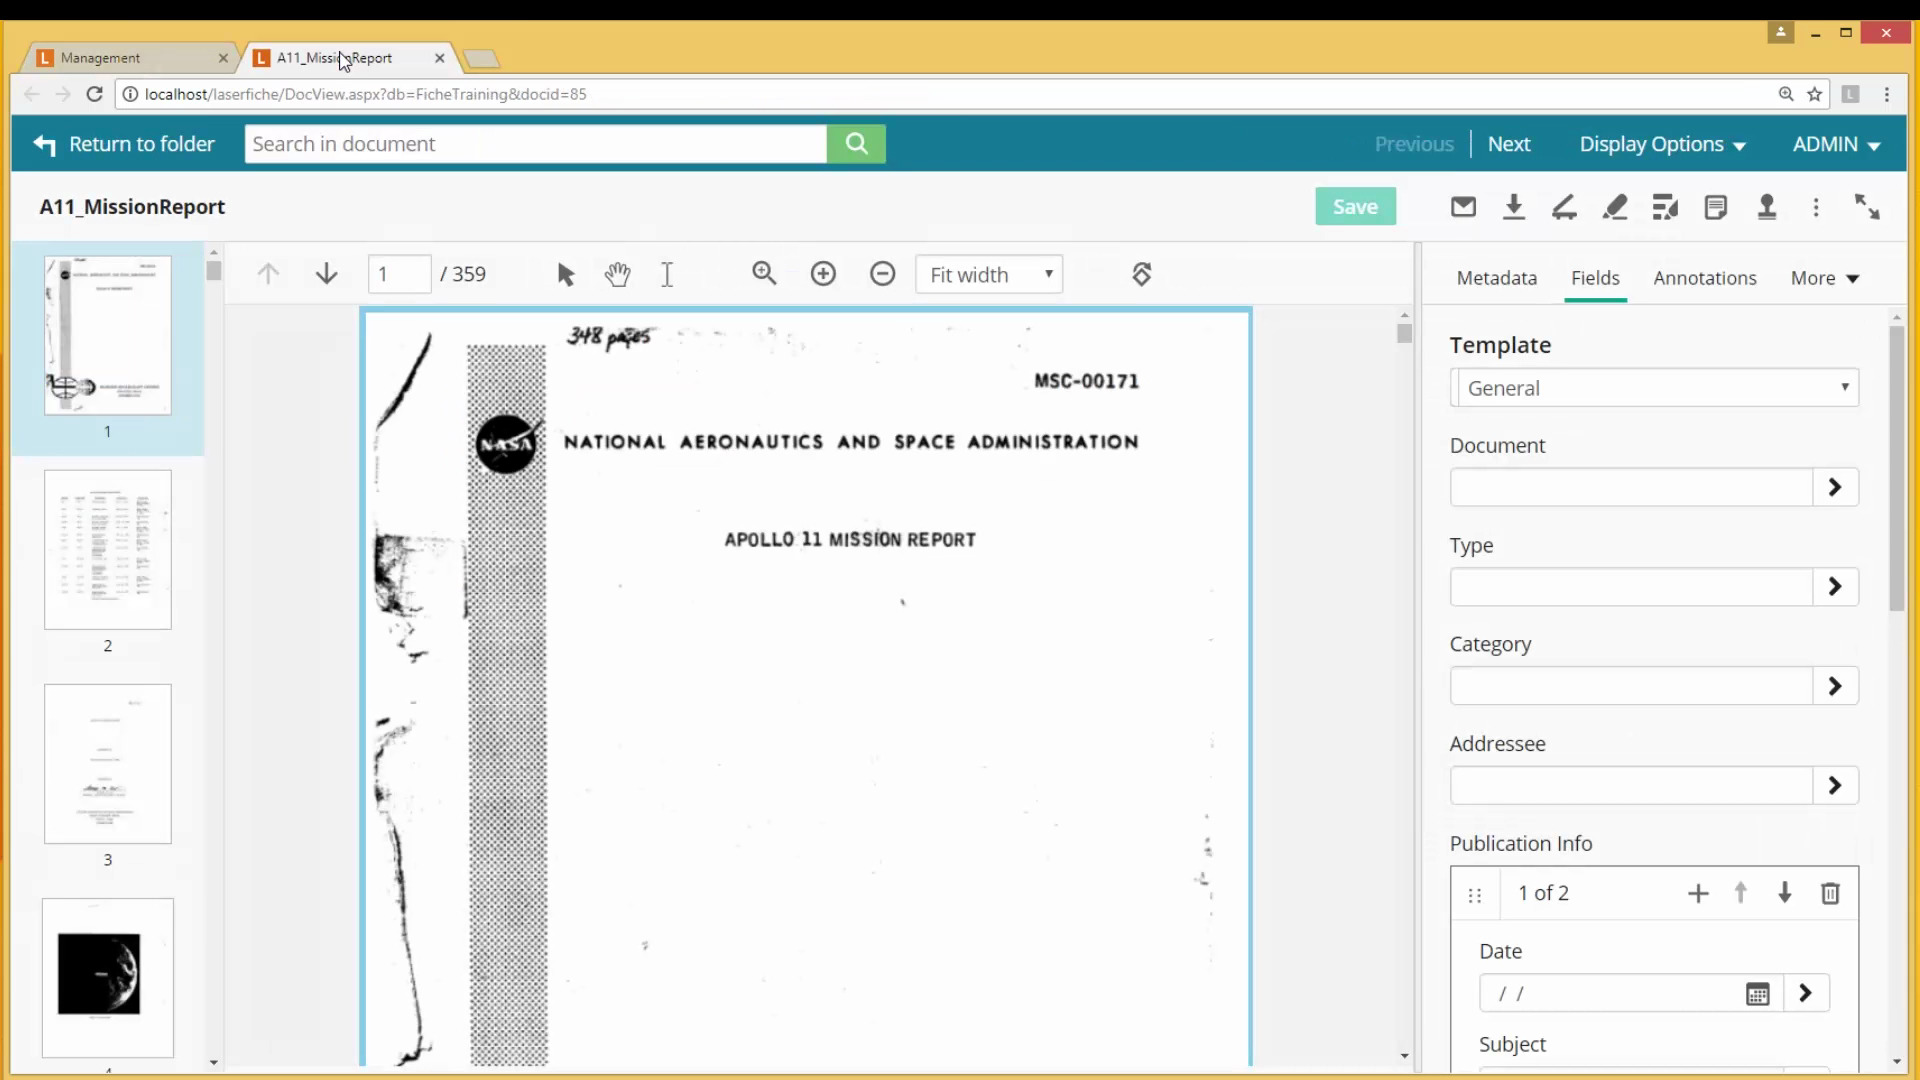
Redaction Reasons inLaserfiche Windows Client 10.3
Configuring Redaction Security Settings
Administrators can configure redaction settings to determine who can and can’t see redacted information.
To give a user or user group access to redacted information, grant the “See Through Redactions” entry access to the document’s folder. Users with this security right will see a grey box covering the redacted area. Everyone else accessing the document will see a black box.
If you export the document as a PDF, the redactions will be burned into place for all viewers, making it safe to email or post publicly.
MCCi is the largest Laserfiche solution provider, serving over 1,400 clients in the United States.
When you choose MCCi as your solution provider, you gain access to an extensive library of videos like these in the MCCi LMS.

